07.03.2002
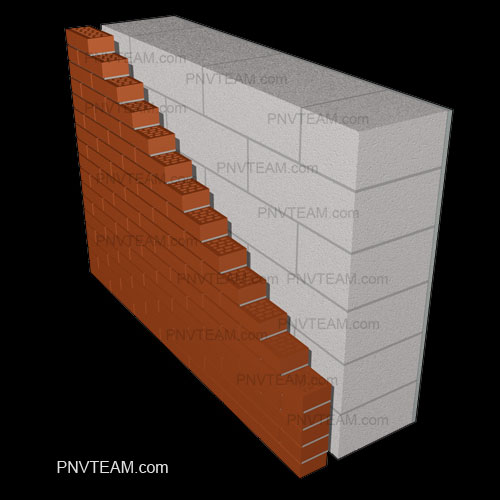
Clinker on Aerated Concrete is best assessed as part of insulation and facade performance, not as an isolated purchase or finishing choice. A solution may look straightforward in a catalogue or visualisation, yet site conditions usually make it more complex. Loads, moisture, geometry, access and sequence all affect performance.
The focus is a durable facade without improvised details. The whole arrangement must be checked rather than assuming that one material or experienced installer will compensate for unresolved interfaces. Clinker’s density and low water absorption do not remove the need for structural support, movement joints, cavity drainage and careful mortar selection.
The technical logic behind the decision
Insulation performs only as part of a complete wall or roof build-up. Substrate condition, continuity, moisture movement, wind protection, fixings and junctions matter as much as nominal thickness. The design should therefore describe not only what is installed, but also what supports it, protects it, allows it to move and keeps it accessible.
Key checks for design and installation
- Use compatible adhesives, fixings, meshes and finish coats.
- Provide drainage and ventilation where the system requires it.
- Inspect the layer before it is covered.
- Confirm the substrate is stable, dry and suitable for the system.
- Calculate or verify the required insulation thickness for the whole assembly.
Each check should be supported by drawings, photographs, product data or measurable tolerances before the work is concealed.
Where projects usually go wrong
Typical problems include missing reinforcement around openings; plinth and sill details allowing persistent water entry; and gaps and misaligned joints creating thermal bridges. They often appear only after seasonal movement, moisture or routine use, when correction is significantly more disruptive.
What a complete handover should include
A useful handover includes photographic records of the insulation layer, checks of junction continuity and, where appropriate, a thermal imaging inspection under suitable weather conditions. Workmanship is most dependable when the design and acceptance criteria are already clear.
Related information is available under thermal imaging inspection and passive house construction; the PNV portfolio provides the next practical reference.